
I’ve always been underwhelmed by tortillas. Although I love the idea of them (they are after all useful for wraps, burritos, quesadillas, and other delicious meals), they are often dry, stale, and flavorless. So I began scouring the internet looking for easy to make options. I shouldn’t have been surprised to find the winning recipe on the vegan blog, Oh She Glows. The tortillas have a light, sweet flavor and are delicious whether eaten alone or accompanied by toppings and fillings!
[caption id="attachment_2820" align="alignnone" width="640"]
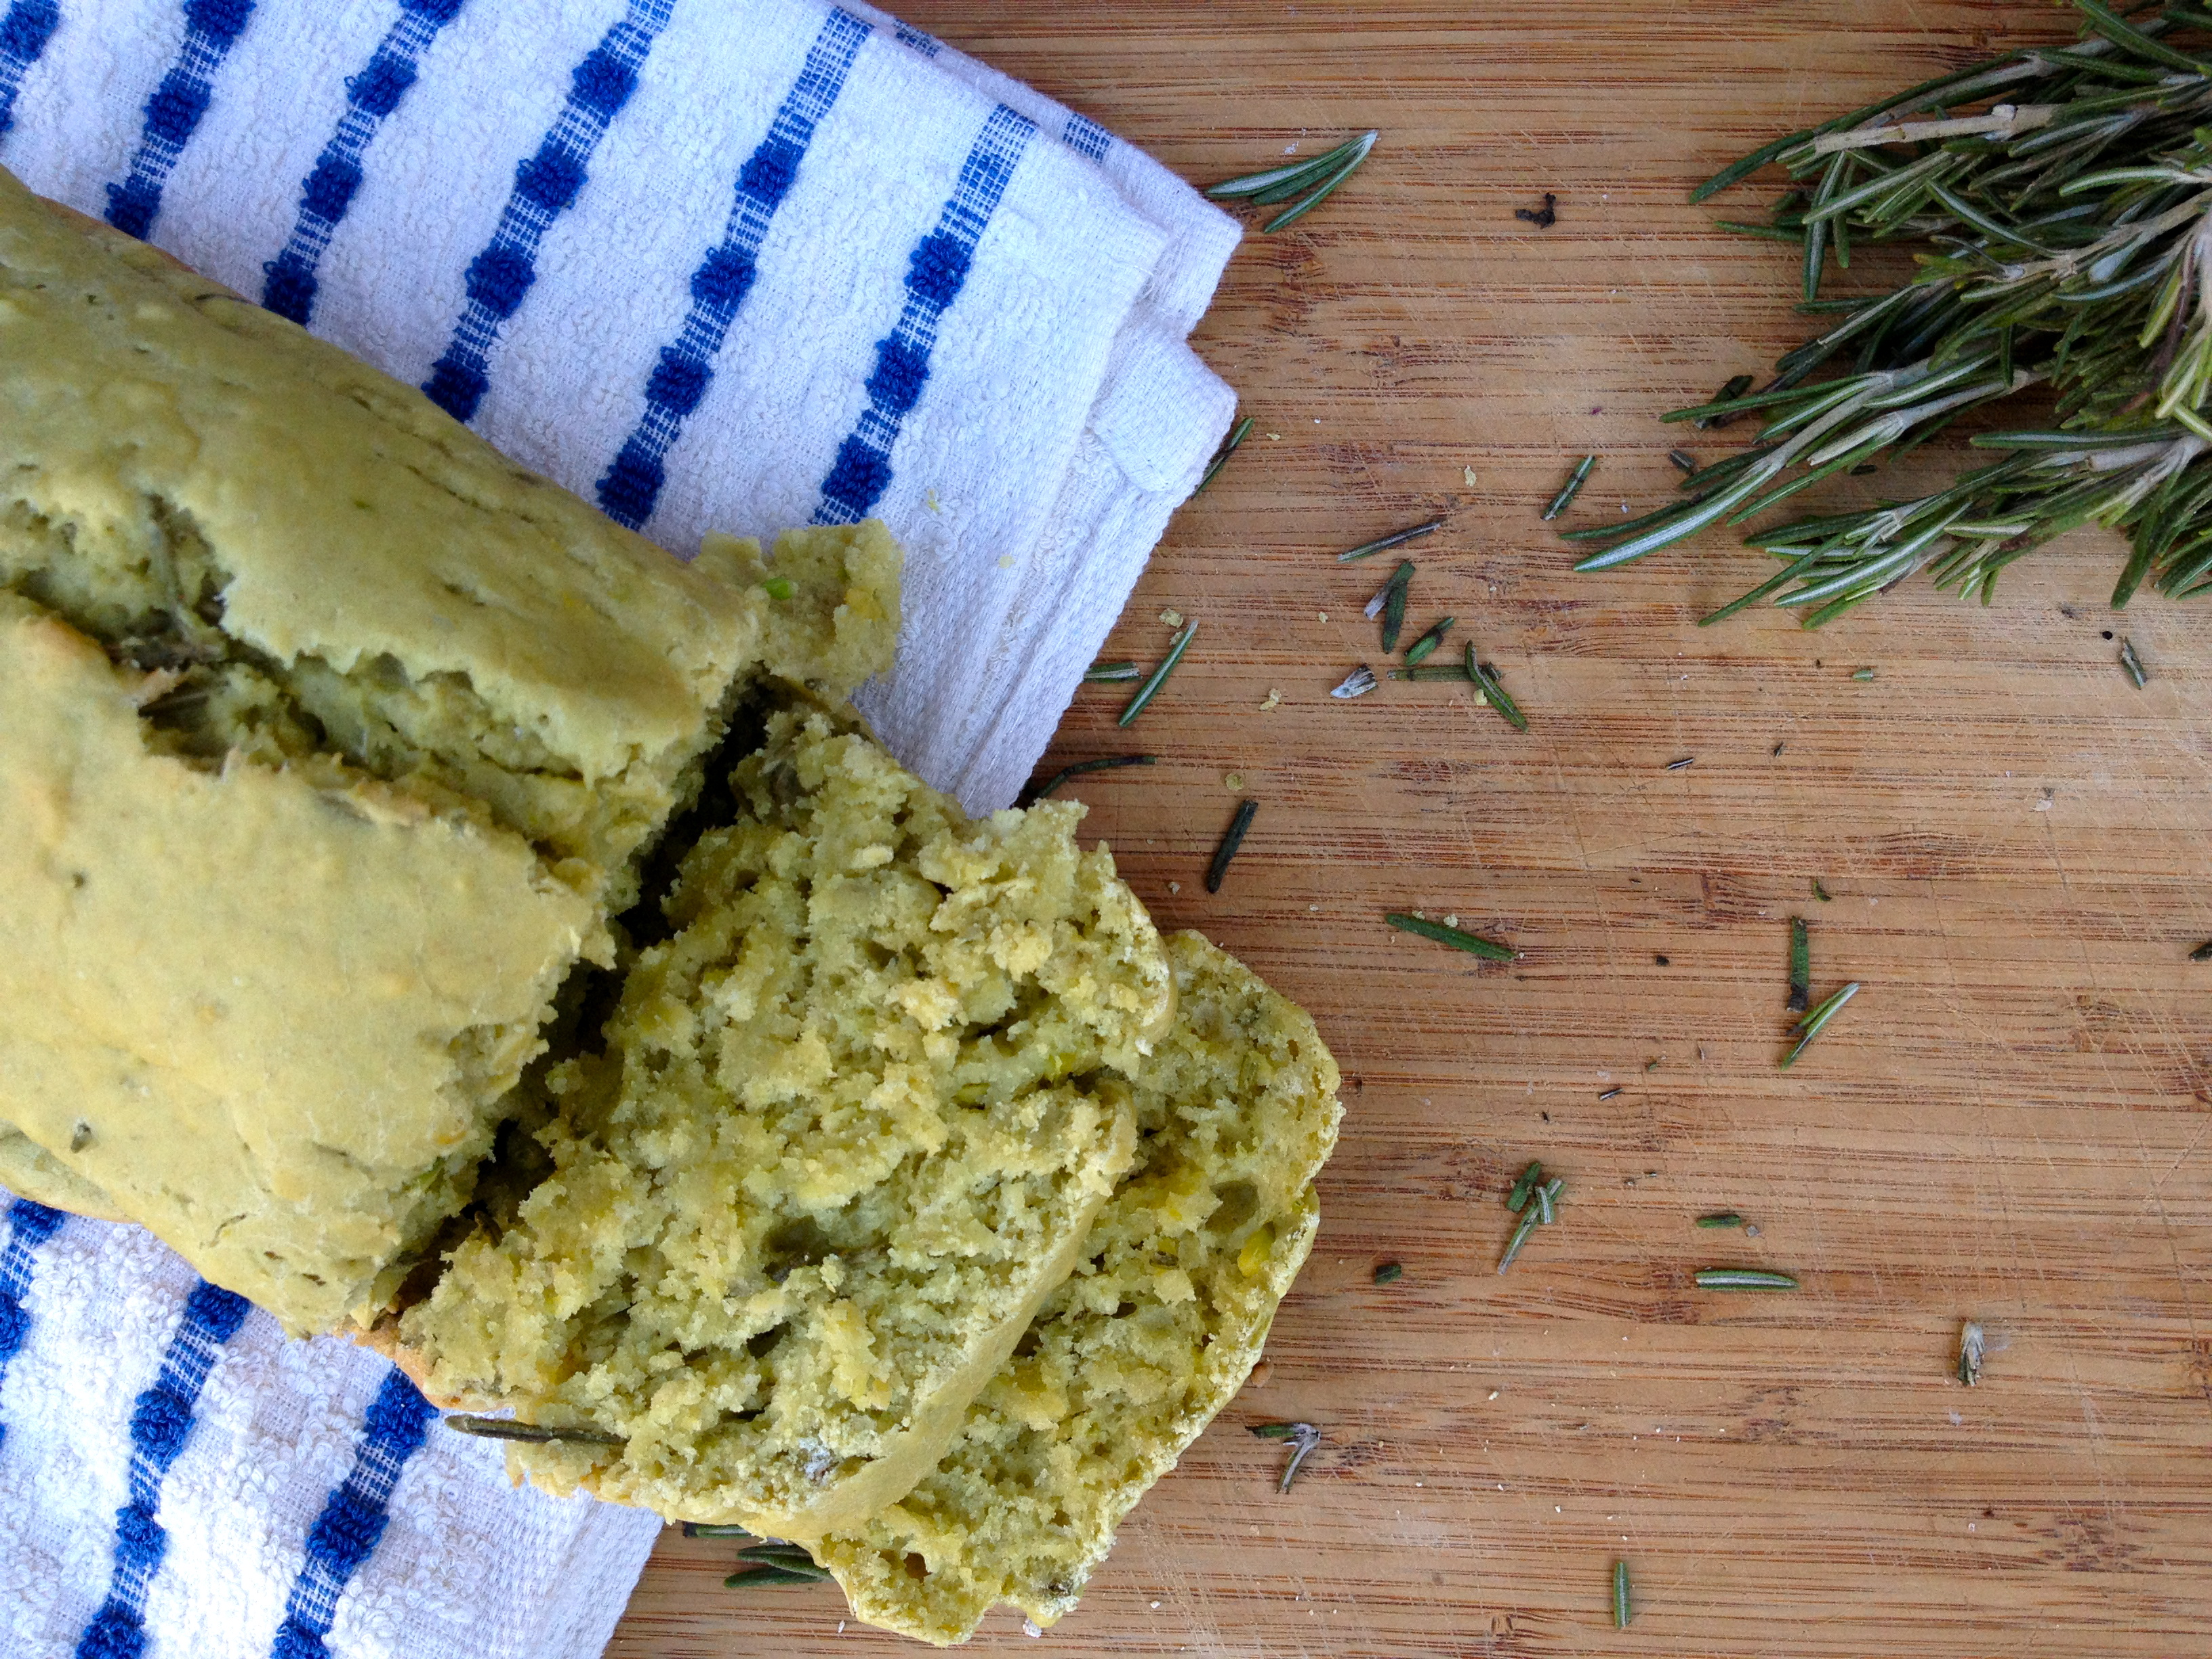
 Spelt Tortillas[/caption]
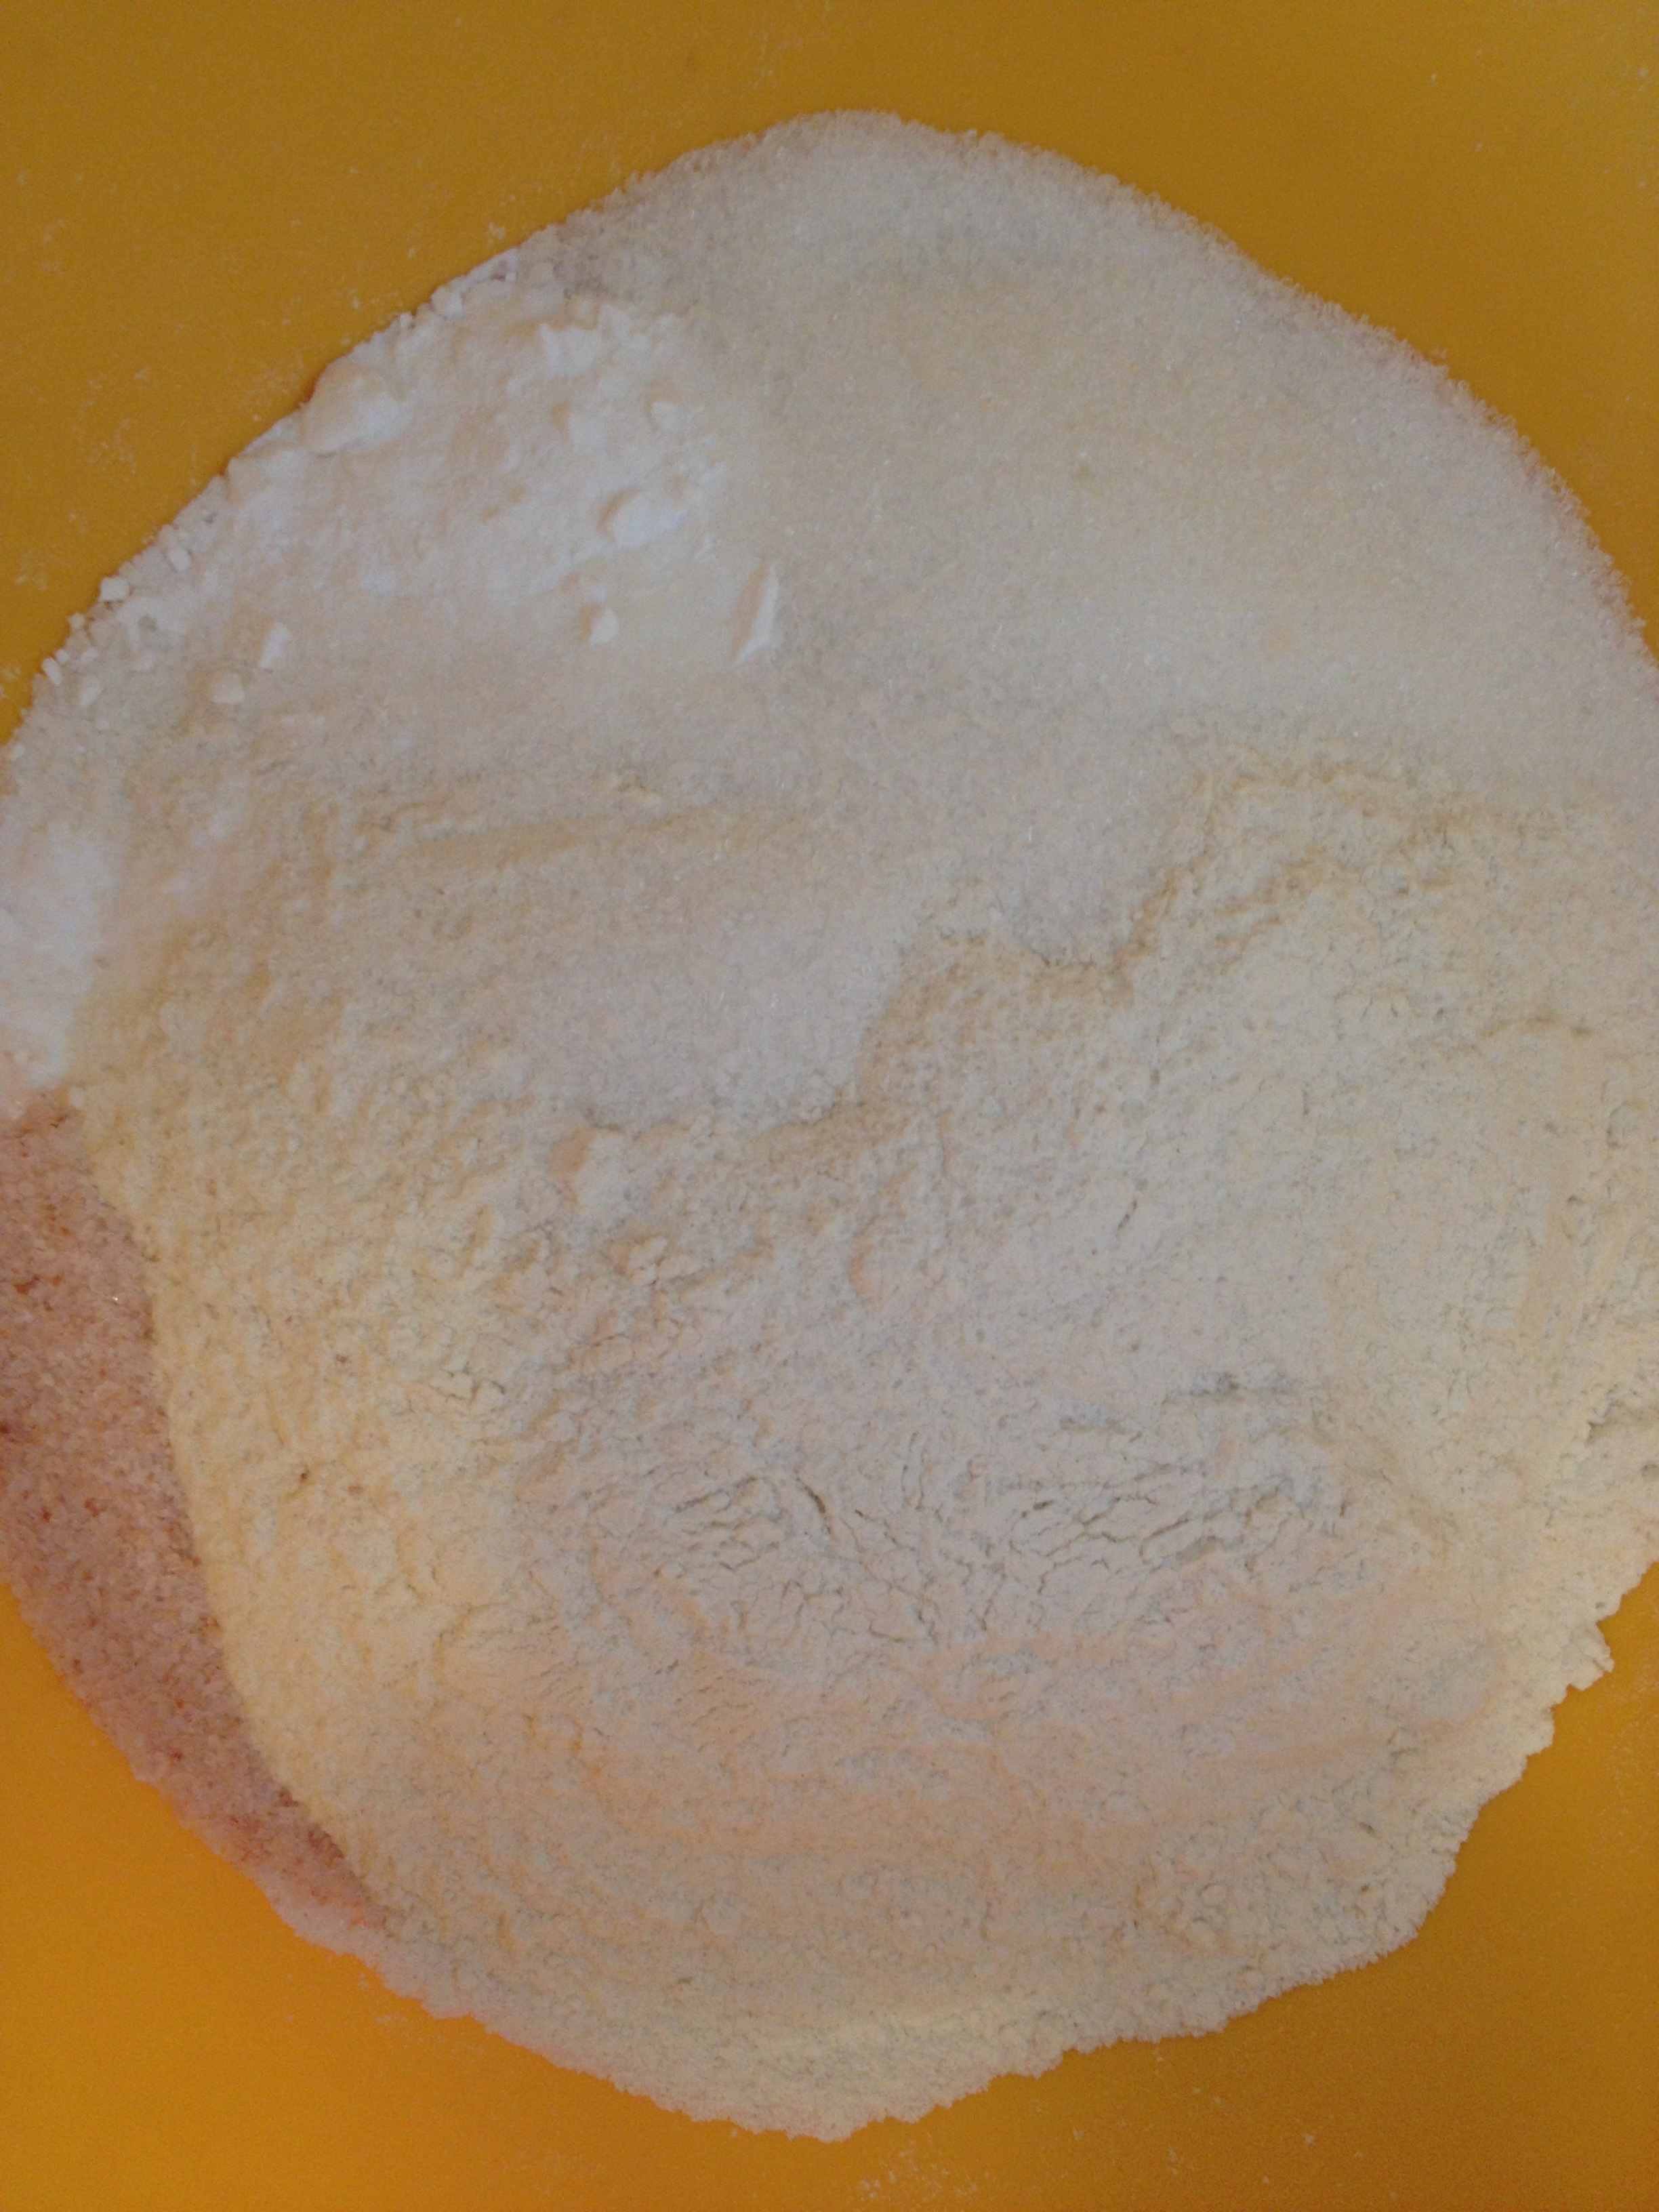
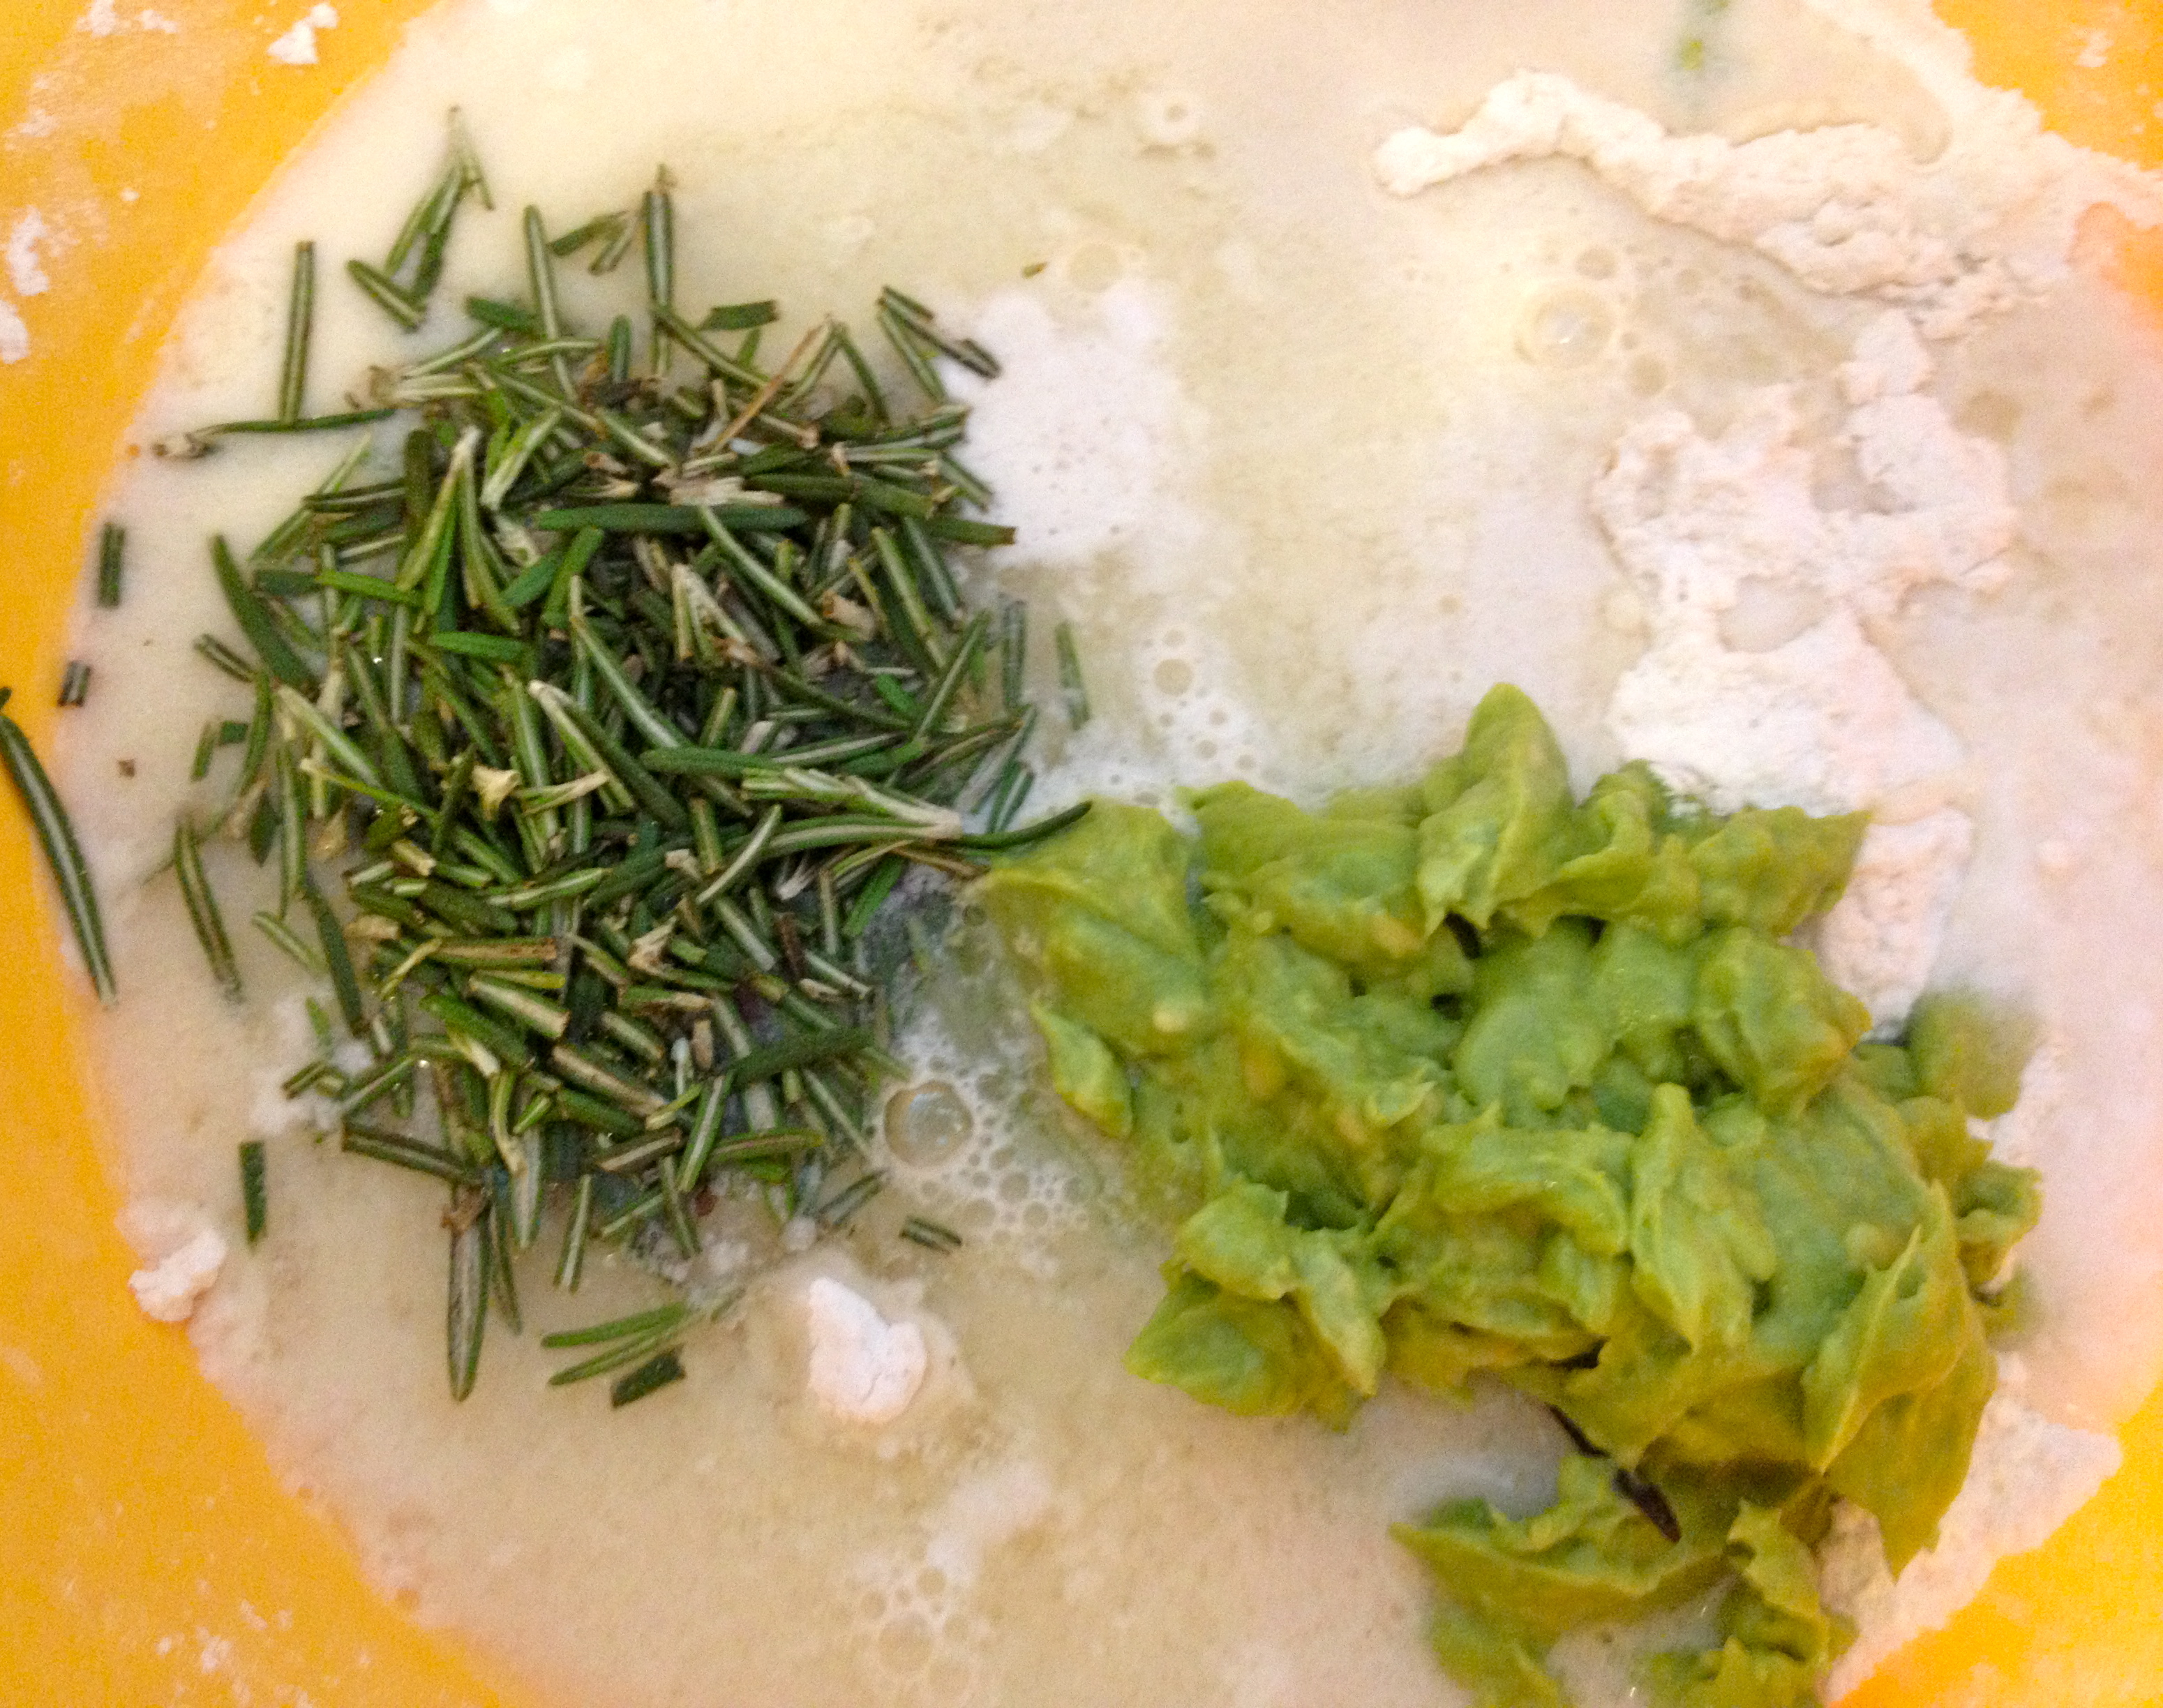
First, mix together the dry ingredients (flour, salt, and baking soda).
[caption id="attachment_2812" align="alignnone" width="640"]
 Spelt Tortillas Dry Ingredients[/caption]
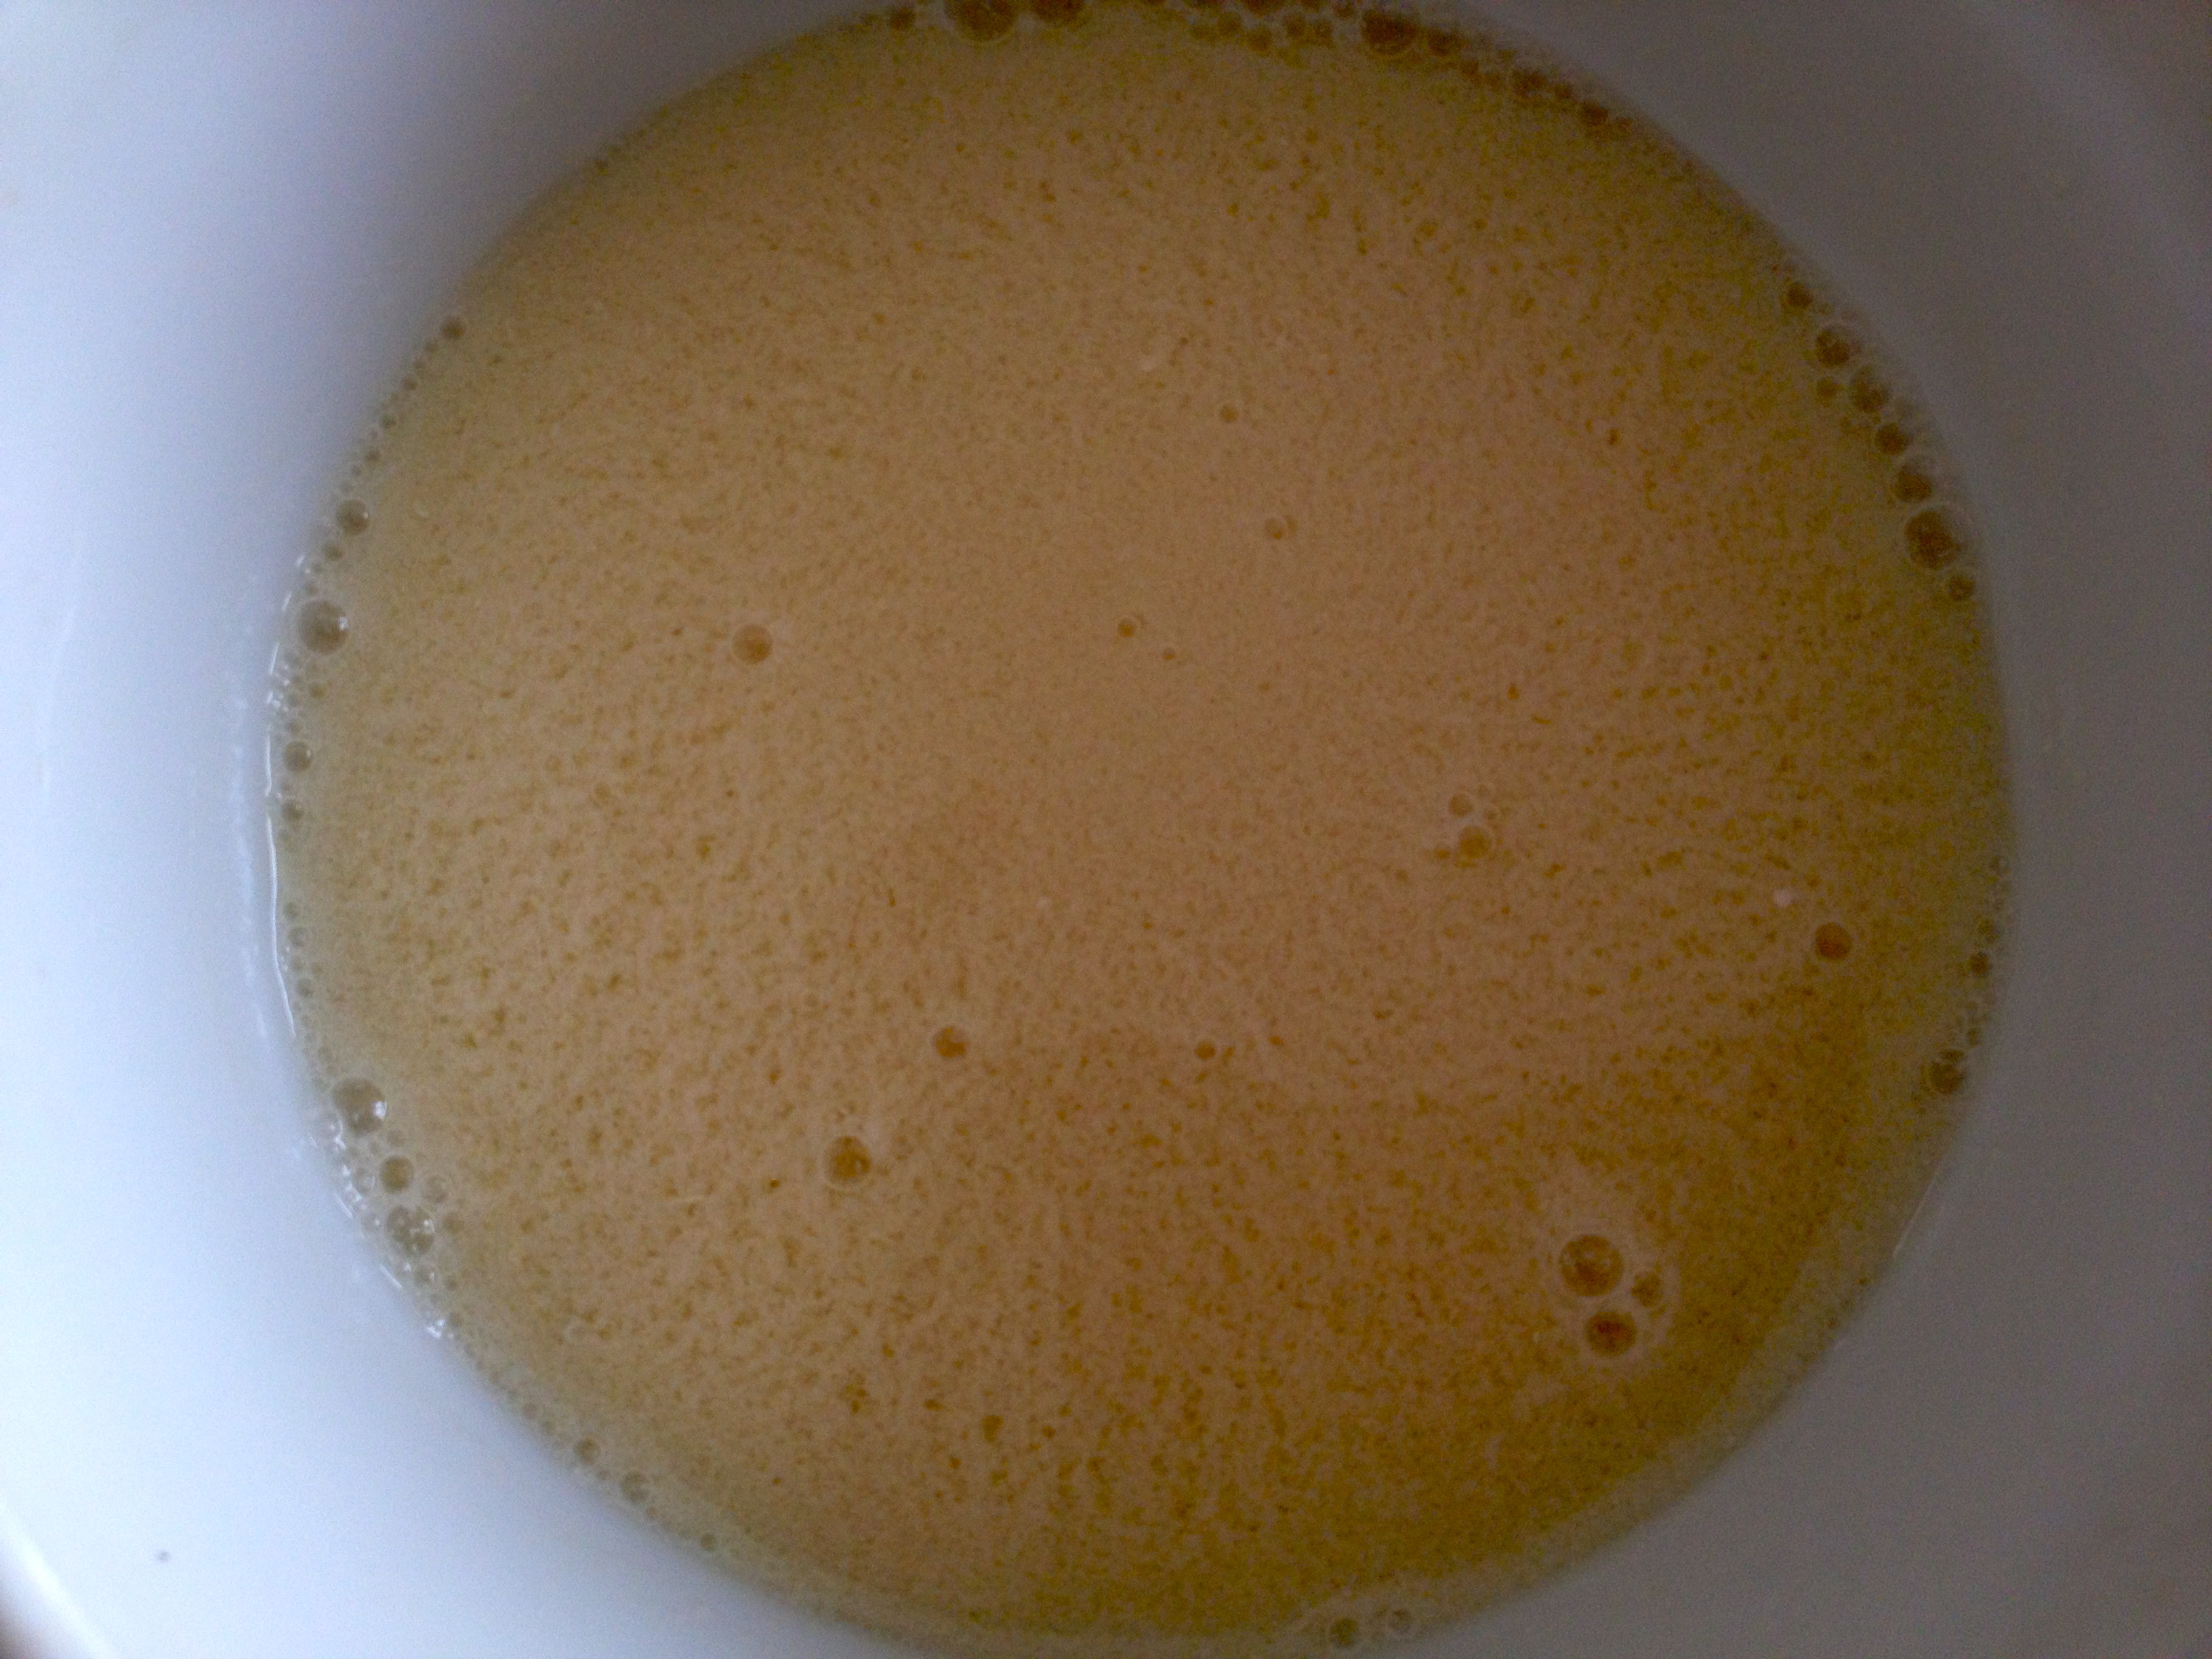
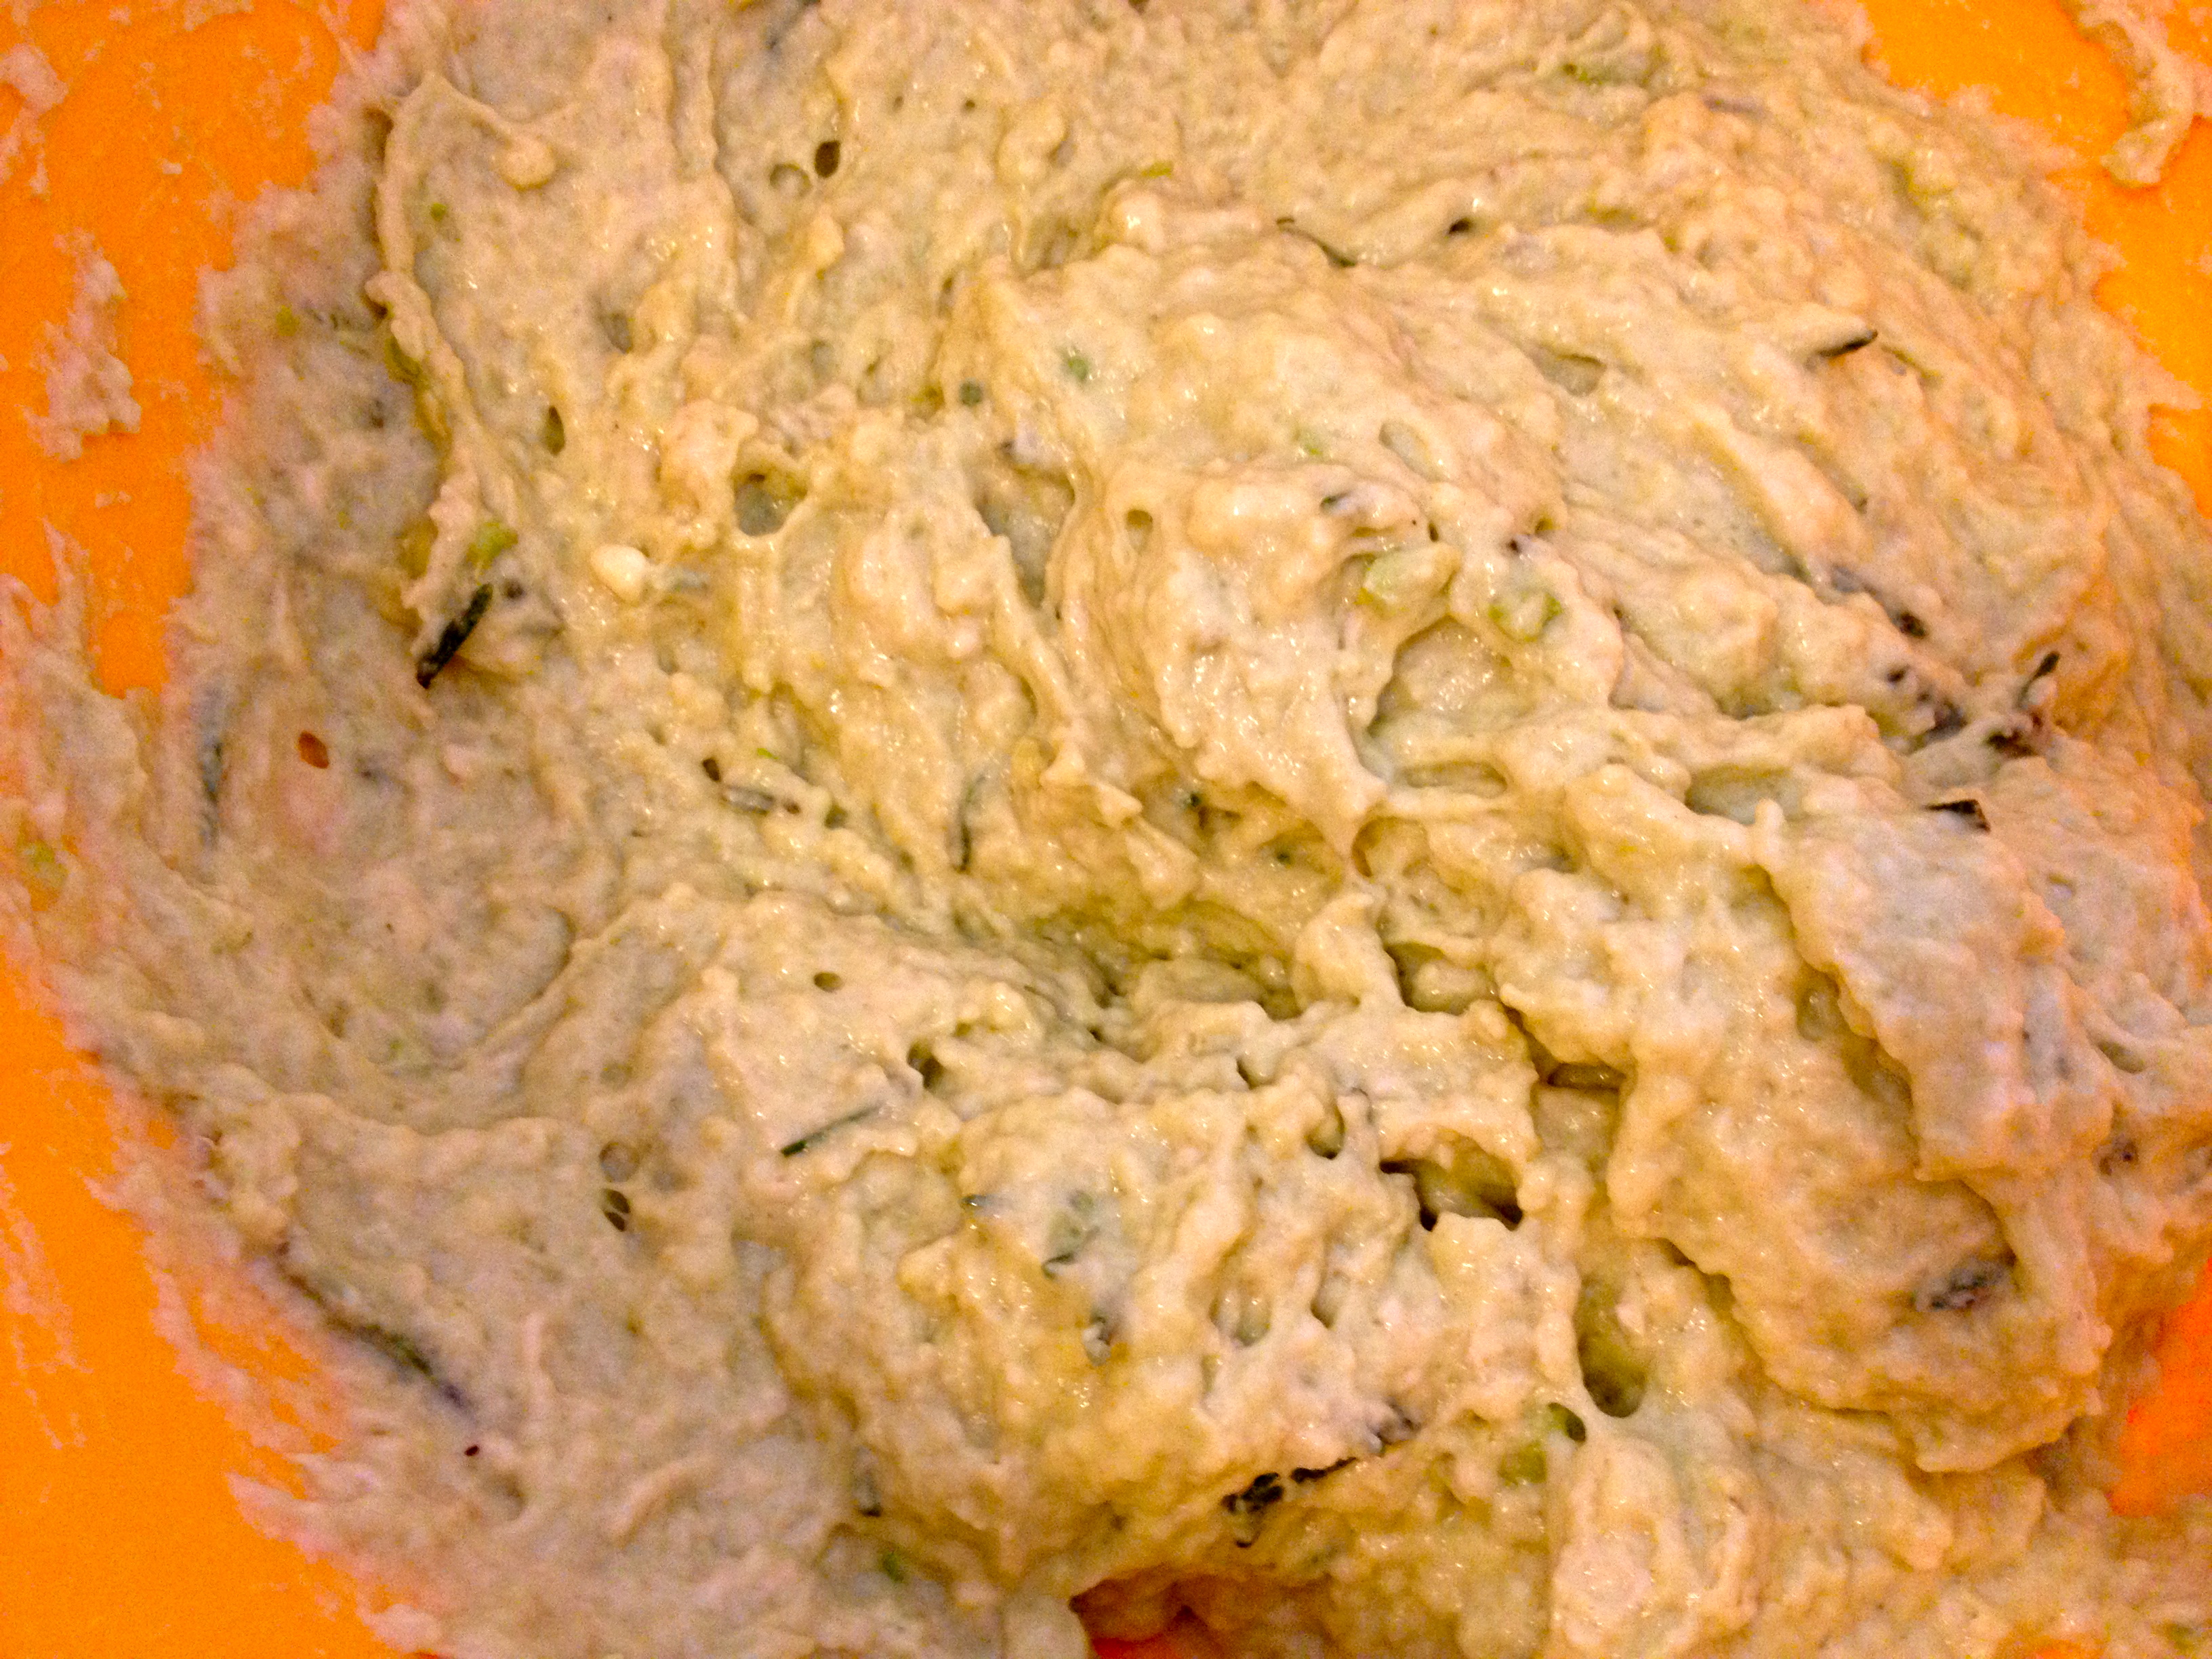
Then add the olive oil and hot water and mix until combined.
[caption id="attachment_2813" align="alignnone" width="640"]
 Adding in Olive Oil[/caption]
Form the dough into golf sized balls and flatten slightly into patties.
[caption id="attachment_2814" align="alignnone" width="640"]
 Forming Patties[/caption]
Roll out each patty into a thin circle (don’t worry about making it perfect!).
[caption id="attachment_2815" align="alignnone" width="640"]
 Rolling out the dough[/caption]
Lightly coat the tortilla with olive oil and place the tortilla oil side down on the skillet.
[caption id="attachment_2816" align="alignnone" width="640"]
 Tortilla in Pan[/caption]
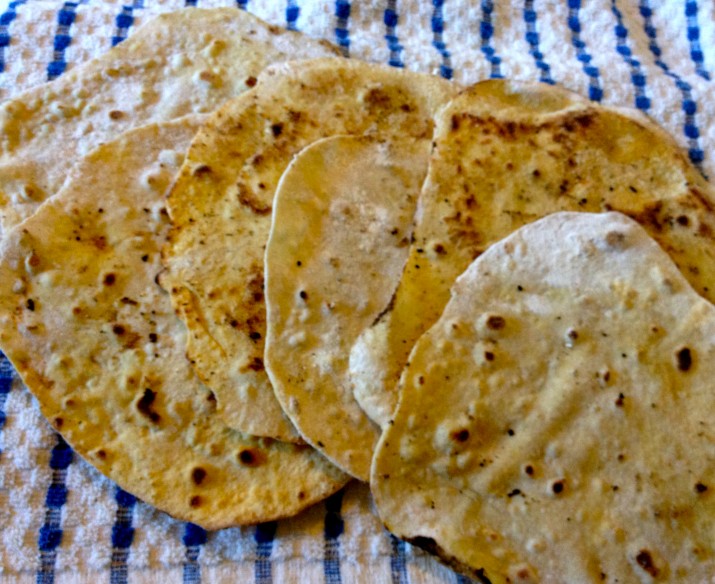
Cook each side until golden.
[caption id="attachment_2817" align="alignnone" width="640"]
 Finished Tortilla[/caption]
Stack tortillas on a plate….
[caption id="attachment_2818" align="alignnone" width="640"]
 Stack of Vegan Spelt Tortillas[/caption]
And fill with delicious ingredients! If you’re like me, you won’t be able to stop making these. They just seem to go perfectly with every meal!
[caption id="attachment_2821" align="alignnone" width="640"]
 Spelt Tortilla with Hummus and Avocado[/caption]
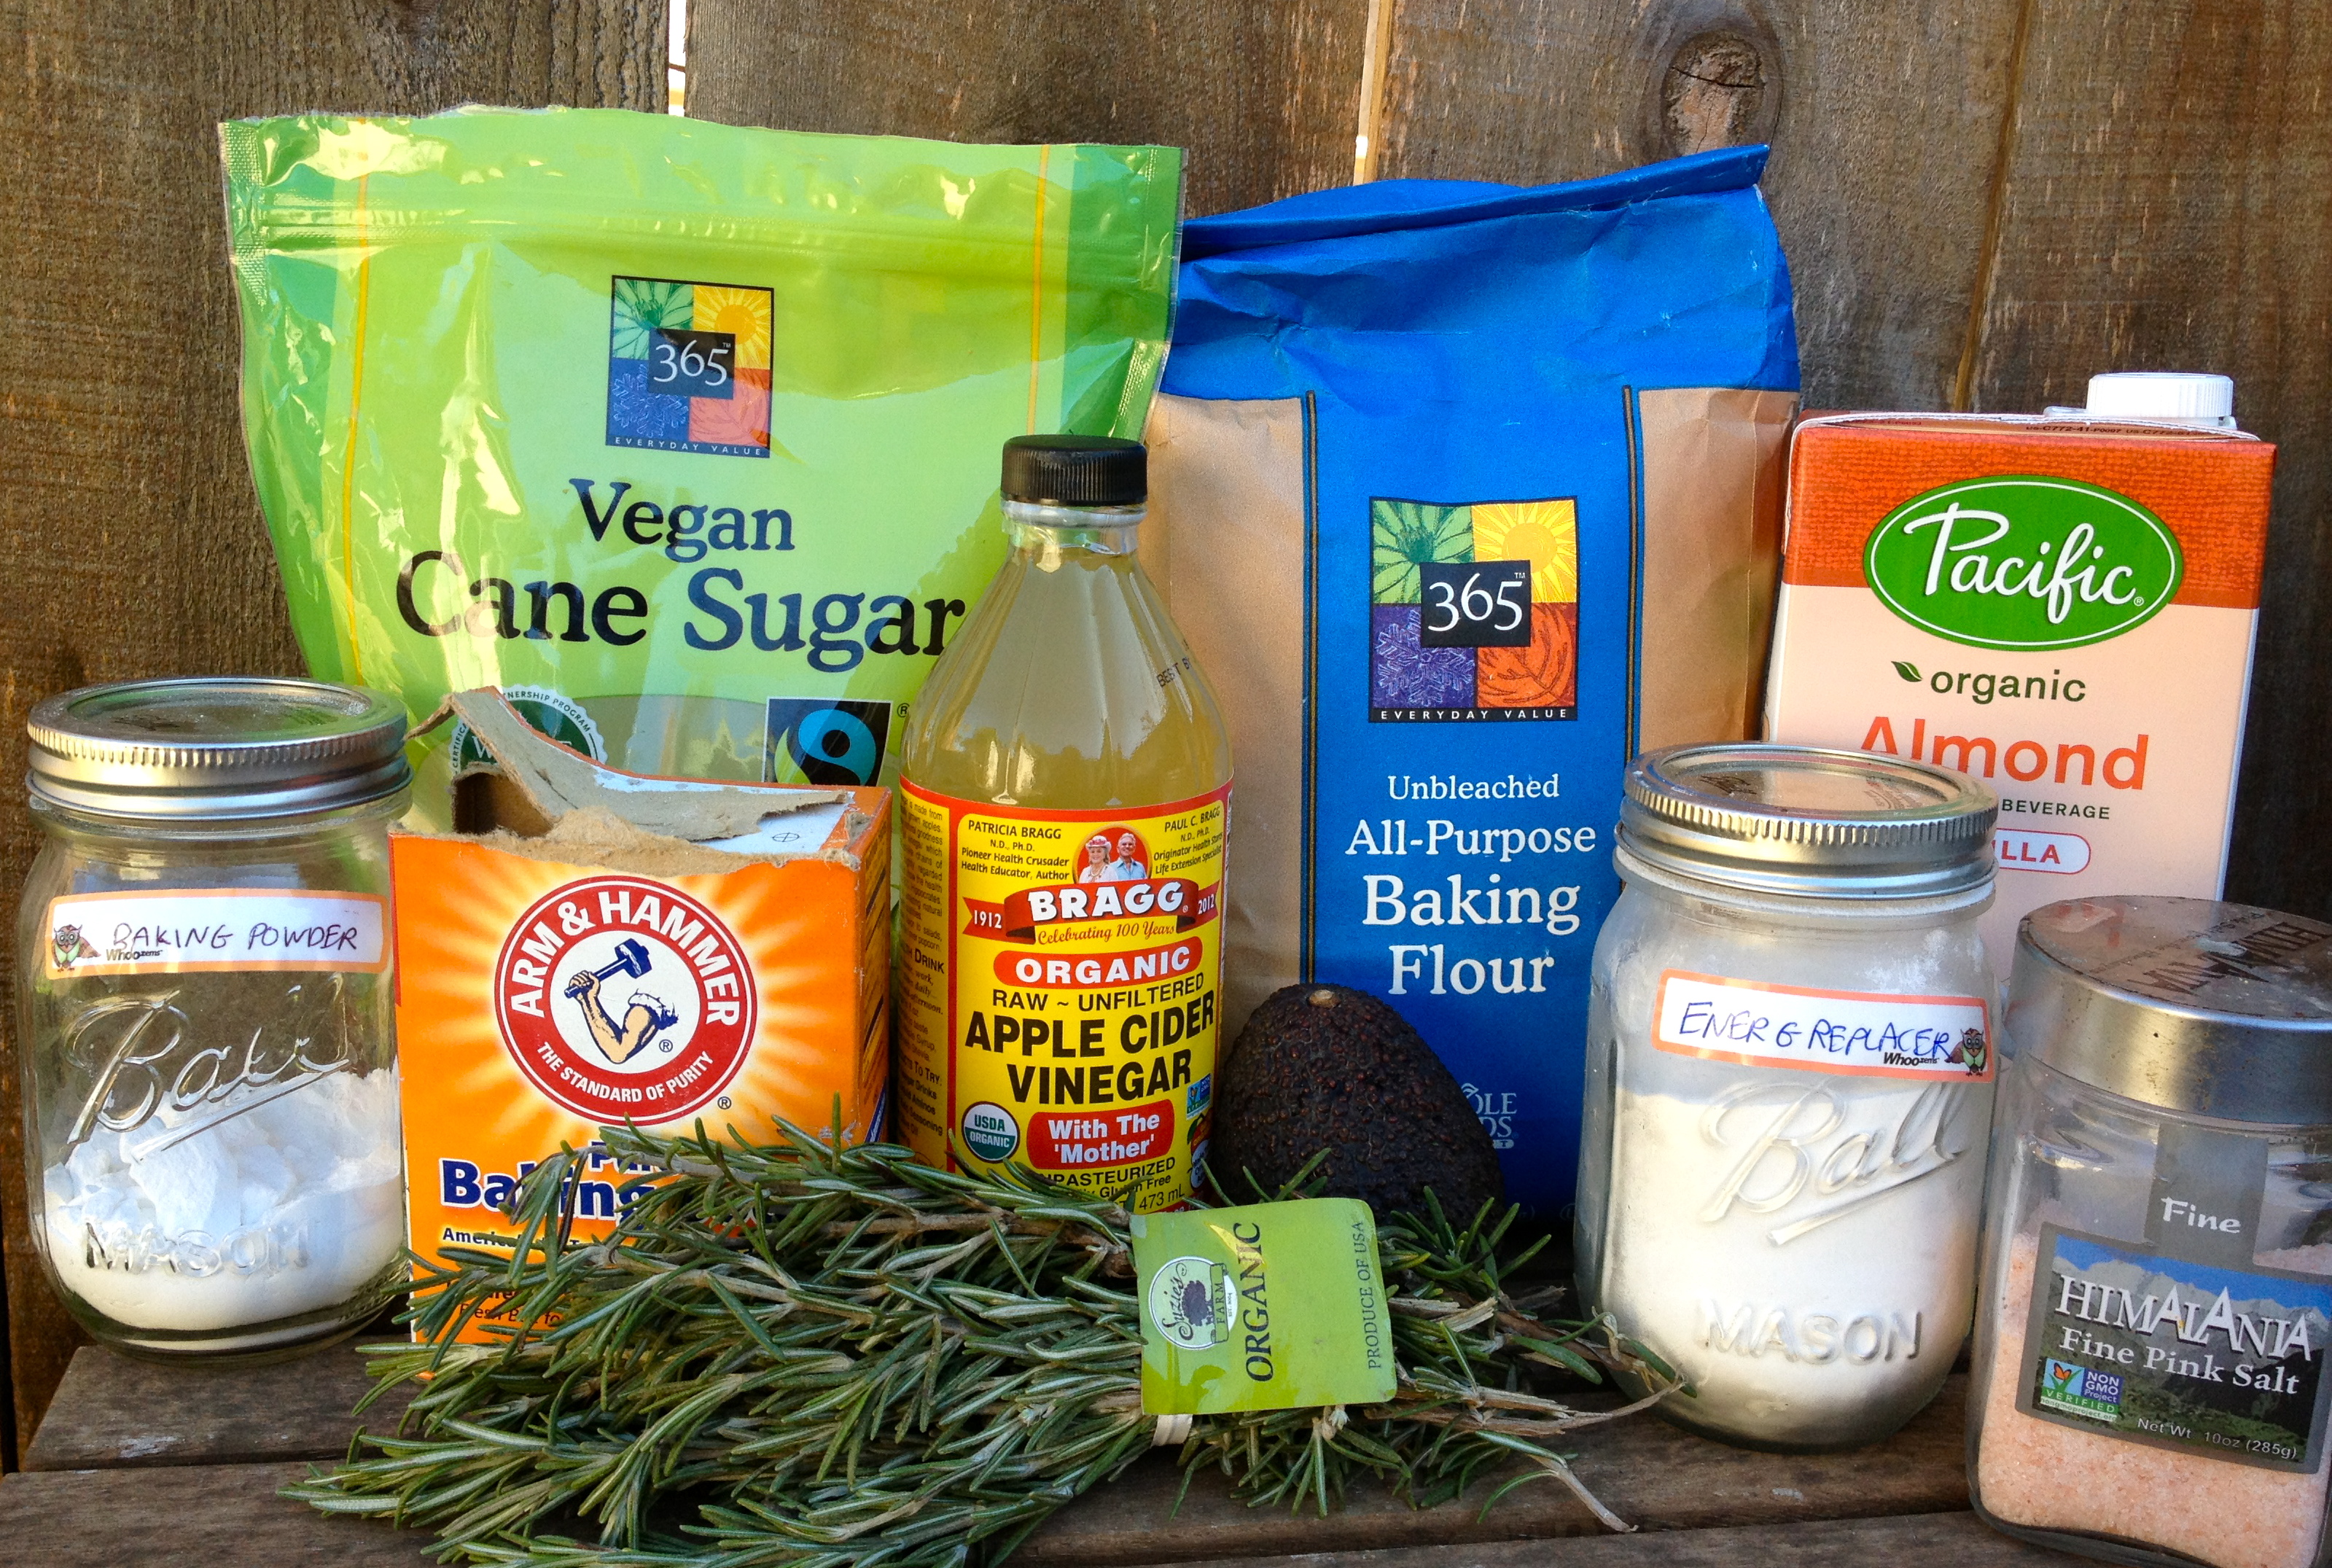
- 2 cups + 2 tablespoons spelt flour
- ½ teaspoon salt
- ½ teaspoon baking soda
- ¾ cup almost boiling water
- 1 tablespoon extra virgin olive oil
- Mix together flour, salt, and baking soda in a bowl
- Add in hot water and olive oil stir. A rough dough will begin to form
- Knead dough with hands until dough is uniform
- Preheat a large skillet over medium heat
- Form dough into golf sized balls and lightly coat with flour
- Roll out dough with rolling pin into thin, circular shape
- Lightly coat dough with olive oil
- Place tortilla olive oil side down on the skillet and cook for 30 to a minute (or until golden)
- Use a spatula to flip, and cook the other side of the tortilla for an additional 30 seconds (or until golden)
- Place warm tortillas on a plate
- Once, tortillas have cooled to room temperature, store in room sealed plastic bag